


Who doesn’t love the smell of freshly baked bread wafting through their kitchen? Well, a recent poll on our Facebook page found that many of our customers have yet to try making their own homemade bread (the great thing is, it’s really knot that hard).
The delicious scent of freshly baked bread (and b(r)agging rights) aren’t the only benefits of using your (own) loaf. We’re passionate about inspiring you to discover the health and savings benefits of going against the grain and baking bread from scratch.
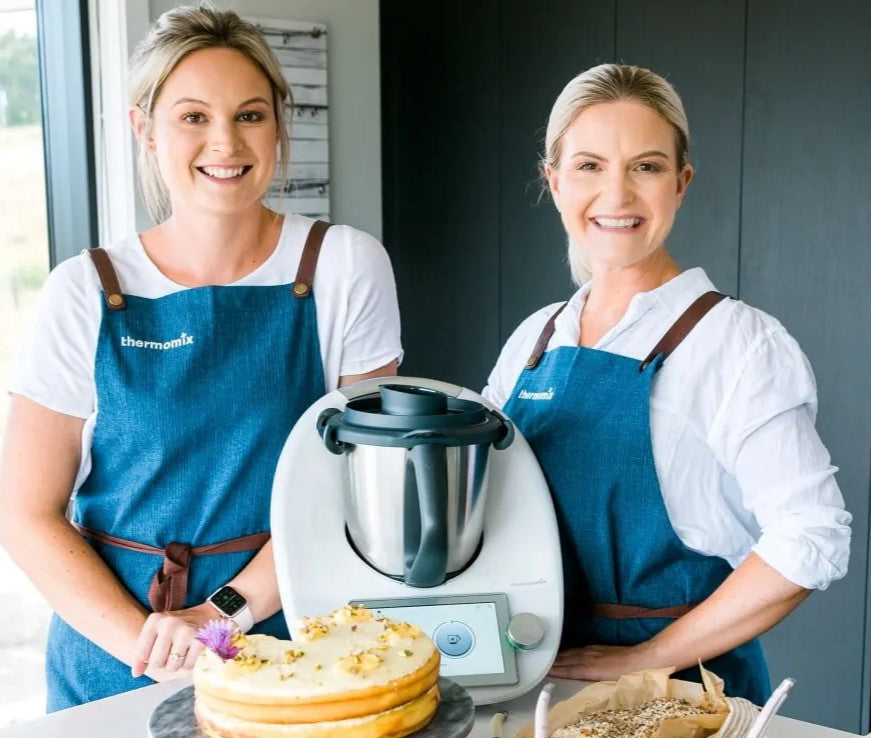
Get bready to rock and roll! Follow the tips from our fabulous recipe developers along with our fantastic WA Consultant (and bread-baking extraordinaire) Anne Tesconi to master the basics of baking bread.
Tips
- Get a more precise measurement and more consistent results by weighing ingredients with the in-built scales on your Thermomix. (Make sure your Thermomix feet are squeaky clean before you begin baking.)
- Help to create the perfect temperature to activate your yeast, by heating water in your Thermomix at 37°C for 2 minutes.
- Make sure your yeast is still in the land of the living! While keeping yeast in the fridge can increase its shelf life it will eventually lose vitality and its joie de vivre. If your yeast is a little old (dough!), you can perform a little yeast CPR. You can do this by sprinkling the yeast and a pinch of sugar over the water you’ve gently heated (see step 2) then giving it a gentle stir and leaving it for a few minutes. If your yeast is still active, you’ll start to see it bubbling within a few minutes and you’re good to roll on with the rest of the recipe. Remember, 20g fresh yeast can be replaced by approximately 2 teaspoons dried instant yeast (7g).
- Help your bread rise to the occasion by using flour with a high gluten content (baker’s flour).
- Keep your dough toasty warm by proving it at temperatures between 24°C or 28°C. Avoid proving in direct sunlight, as this can damage the yeast. If you’re in a hurry or your room is a little cold, try proving your dough in a bowl placed over a ThermoServer filled with warm water.
- It’s nice to be kneaded but how do you know if your dough has been kneaded enough? Try the window pane test! Stretch your dough until it’s sheer, and you can see right through it. If it tears, your dough might need to be kneaded a little longer.
- Don’t be tempted to dust your dough by adding extra flour if it’s a little sticky. Adding more flour will mean a denser loaf and a crumby result.
- Once your dough has risen, to test if it’s ready to bake, gently press it with your finger. If the indentation remains or disappears slowly, your bun is ready for the oven! If the dough springs up quickly, it’s not quite ready so check it again in another 20 minutes.
- Is it bready yet? To check if your bread is cooked, tap it gently underneath. If it sounds hollow, the bread is cooked through and ready to eat. Slather liberally with butter and your bread will be off the hook.
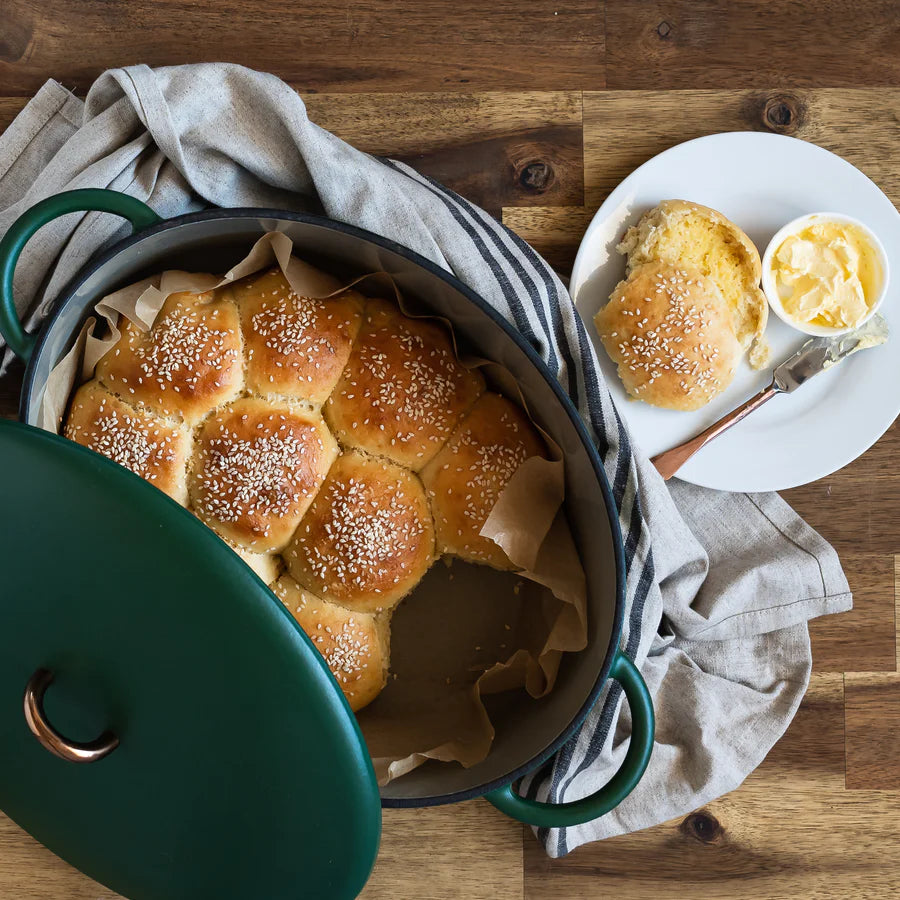
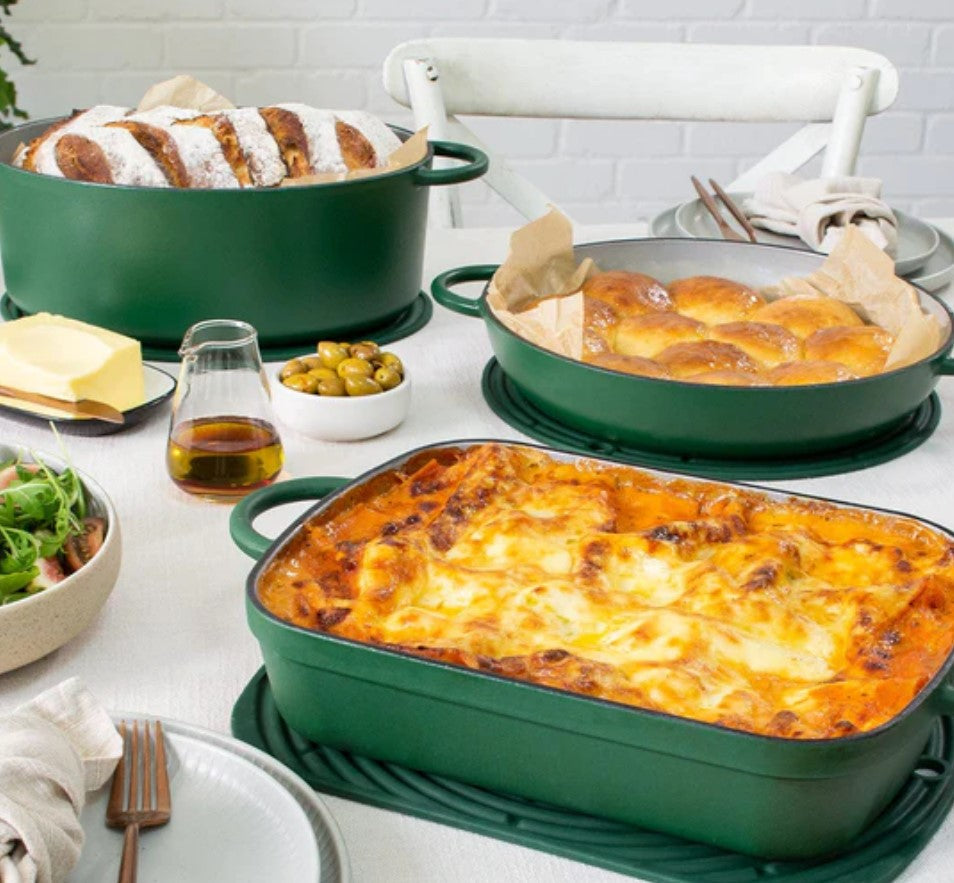
Here are some of our favourite baking recipes that we loaf very much.
Buttermilk Bread
A fantastic everyday loaf and the perfect recipe for using up leftover buttermilk from making your own homemade butter (butter to buttermilk to bread, now that’s how you roll). Find the recipe here.
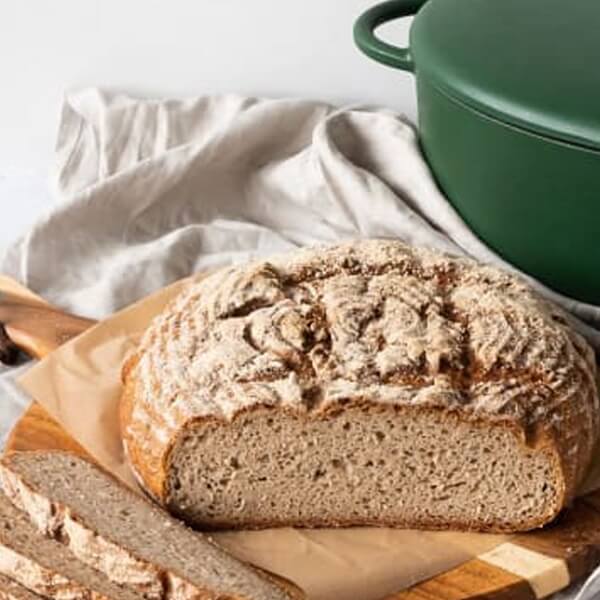
Cheat’s Sourdough
Our Cheat’s Sourdough is a great starter if you’ve never tried making sourdough before. Unlike traditional sourdough recipes, you don’t need to stir or agitate the starter and the result is a fluffy, soft and slightly sour loaf that costs just 10c per slice! You batter believe it’s good value.